4.9 | 4,500+ Reviews

Indianapolis (317) 342-4995

Bloomington (812) 902-1177

Tips for Choosing the Right Garage Door Style

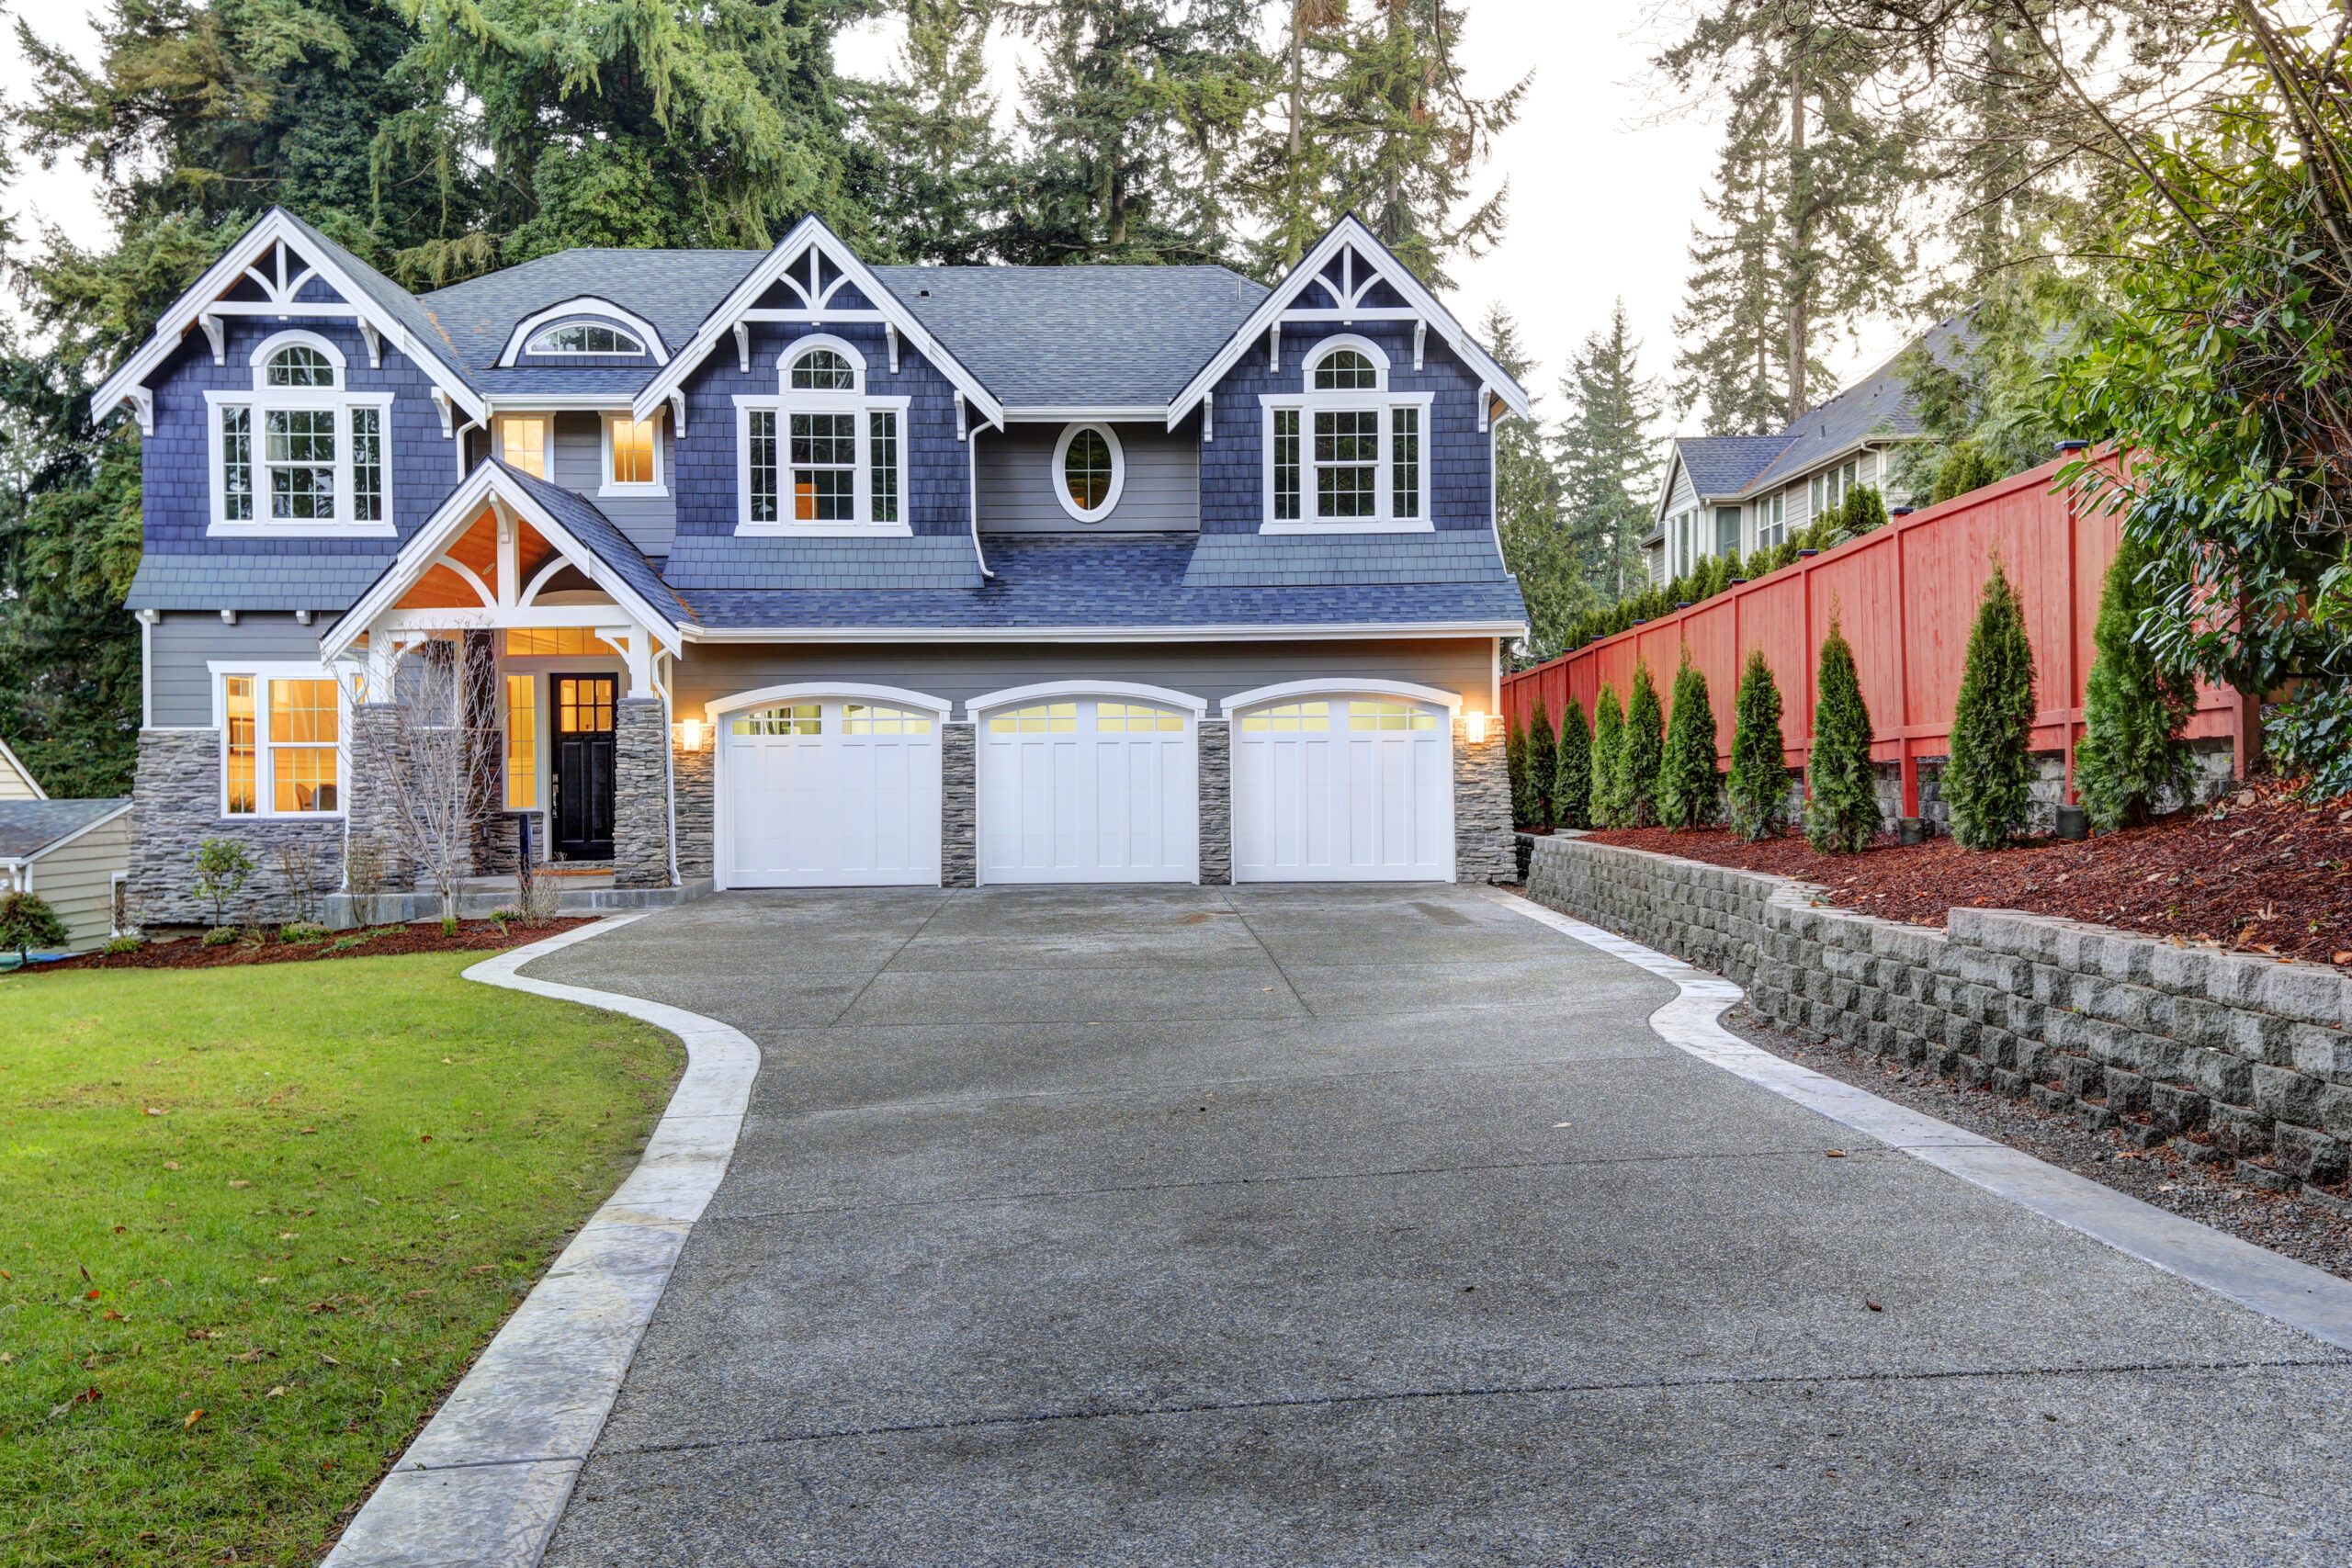
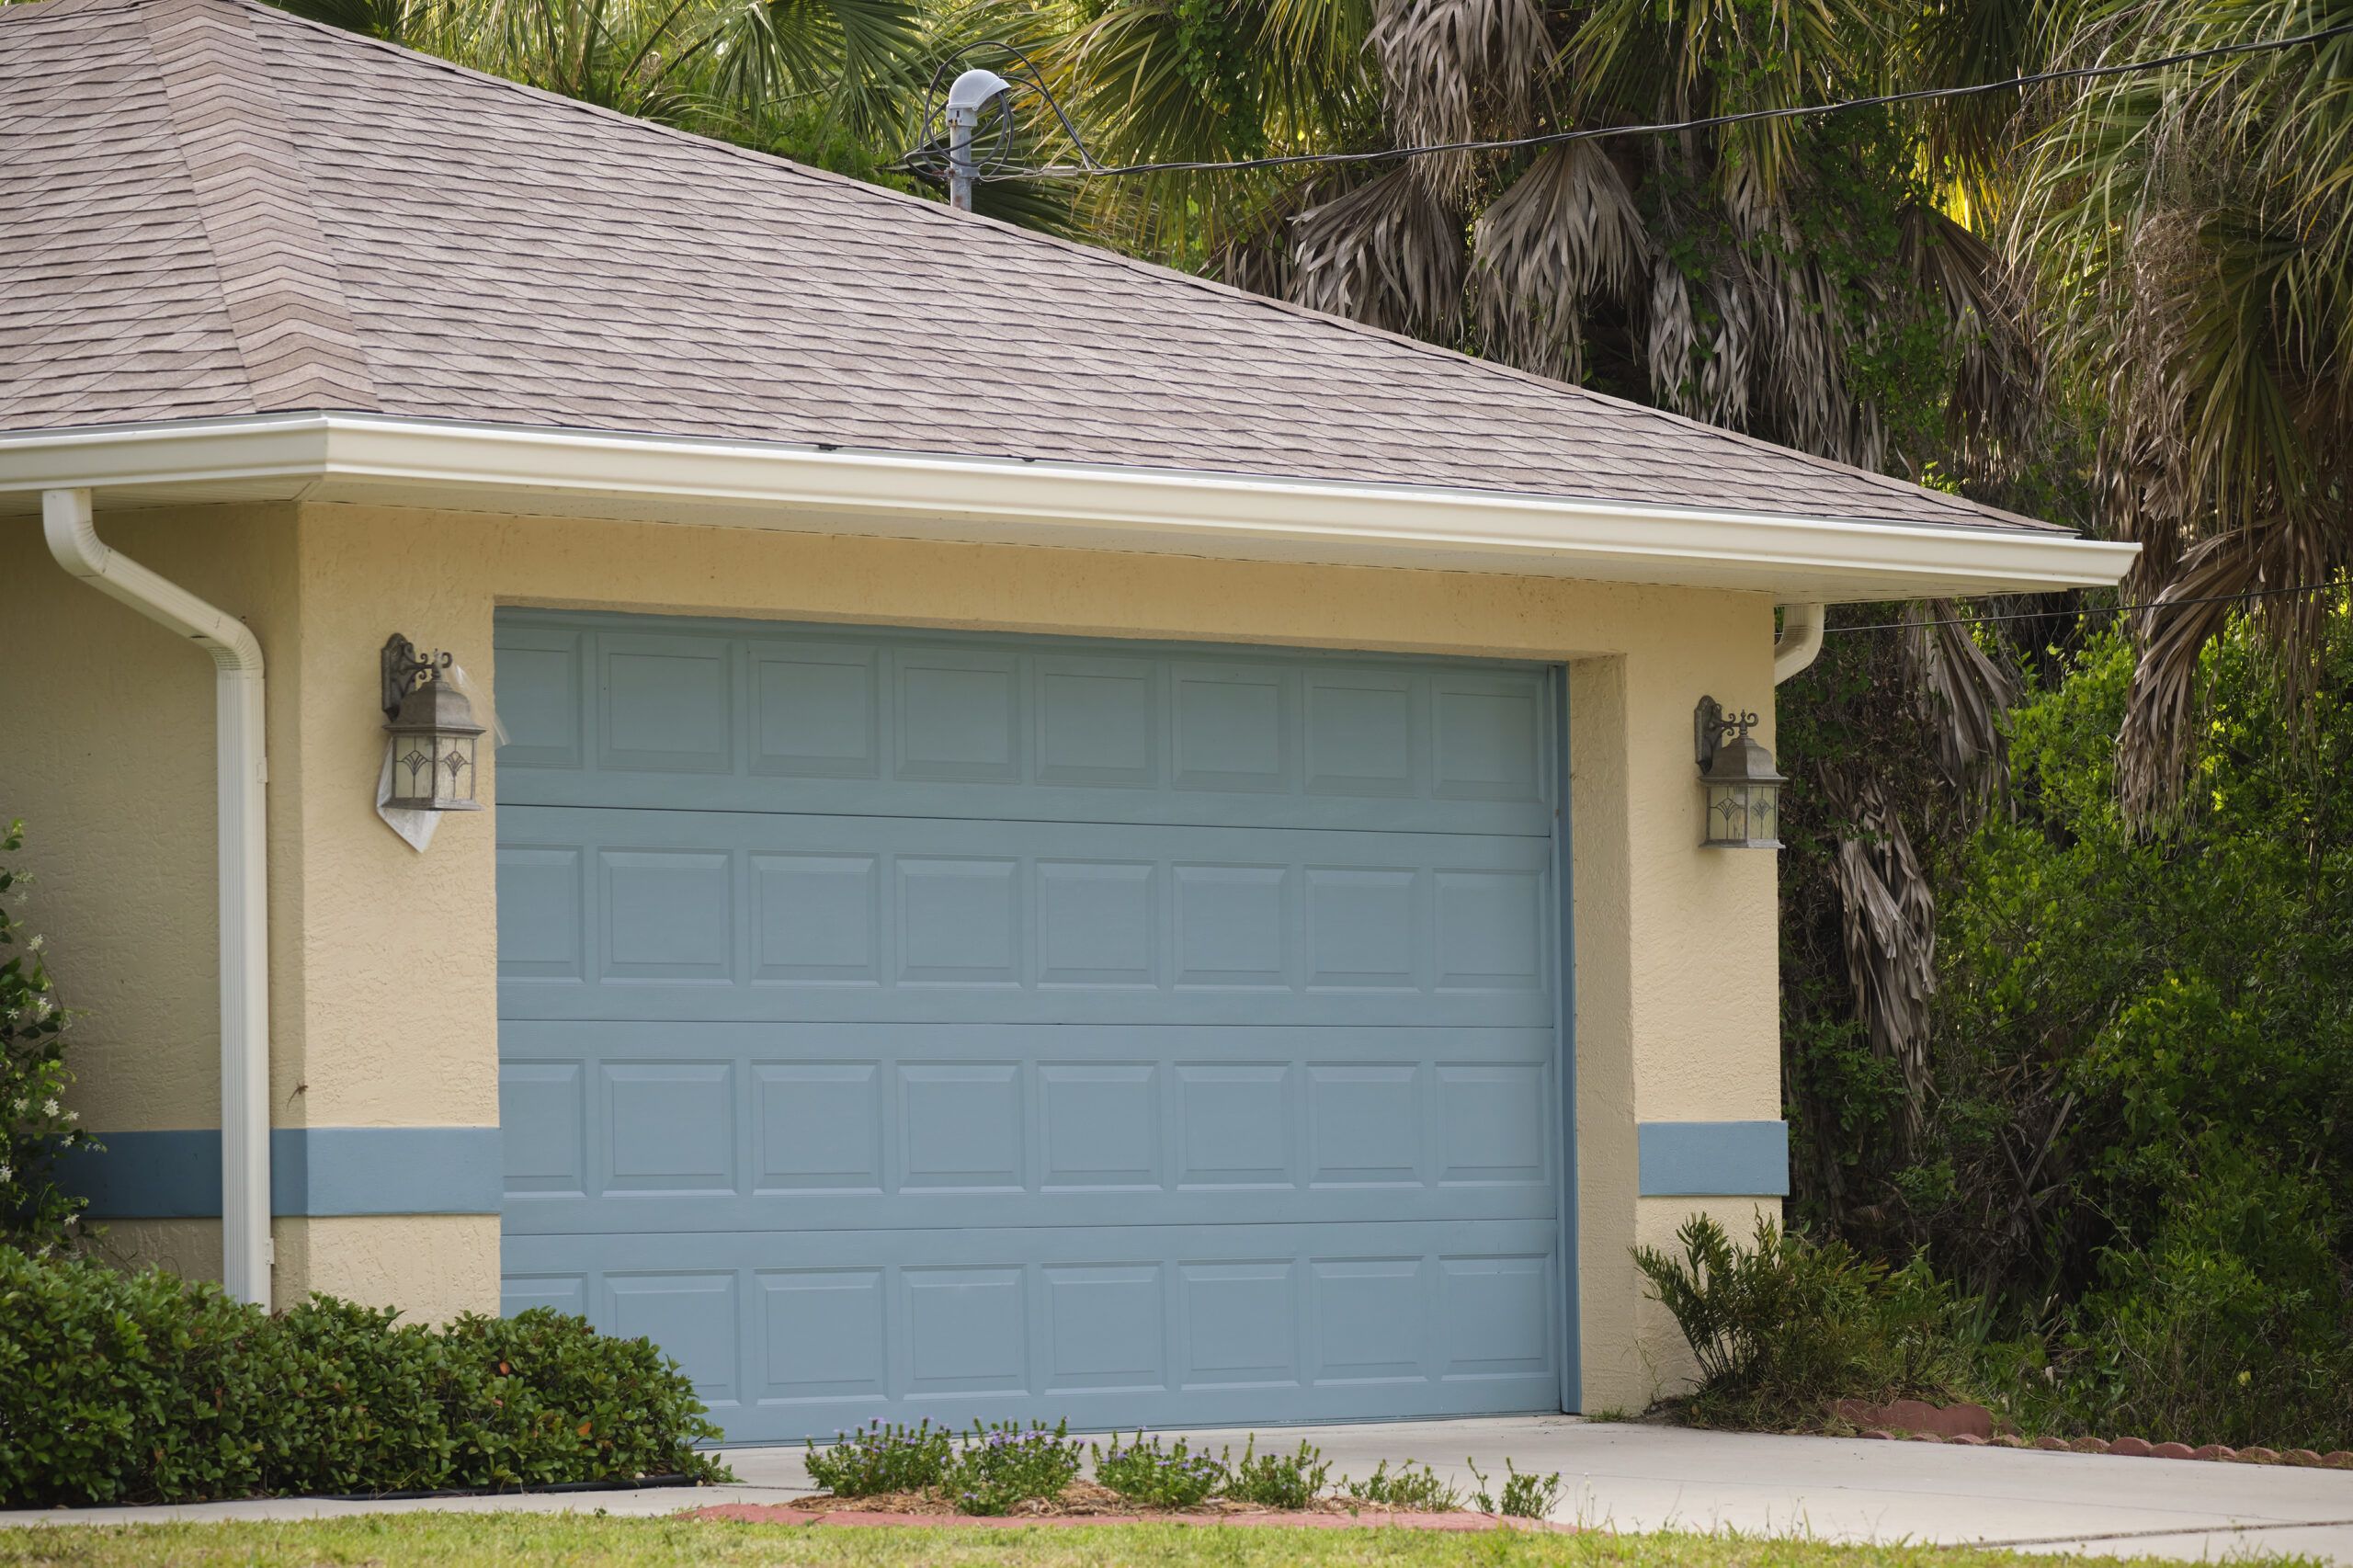
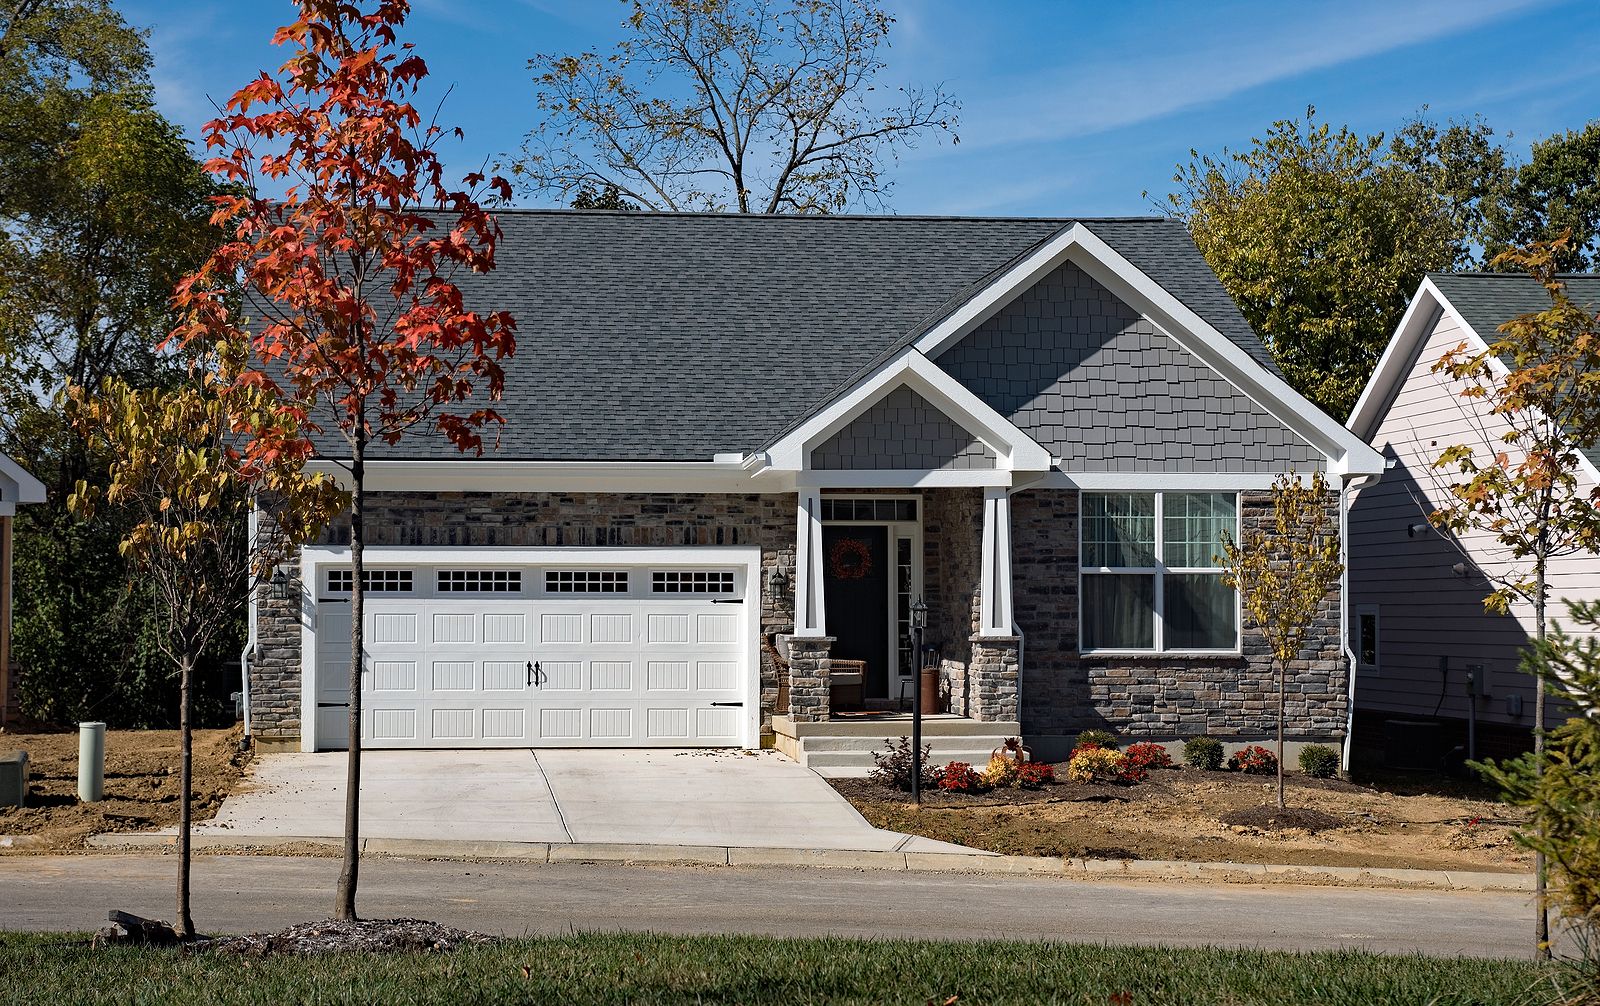
In Indianapolis, your garage door does so much more than protect your garage from the elements. It also helps to protect your home against burglars and offers an additional level of security. Choosing the right style is important because it helps to add curb appeal and the overall appearance of your home. When you are in the market for a new garage door, there are several decisions to make to ensure that you make the best choice. Learning about your options and how to best coordinate them with your home makes this choice a lot easier.

Overhead Garage Doors

This is the most common style for garage doors and there are different types available. These are the type that either lift or roll up when you open them.

The swing type looks like it has two panels. When you open the door, they separate and swing open. They can have decorative hardware and windows to add some more personality. You can also have them look similar to a barn door.

The bifold type has at least four panels. Each of the panels hinge together so that they function similar to a bifold closet door. There are numerous panel options so that you can best match the door to the rest of your home’s exterior.

The trifold type has at least three sections. Each of the sections hinge together. You can opt to have more than three panels to customize the look, but each of these has to be in multiples of three.

The first type of overhead garage door that hit the market was the traditional stile and rail type. There are panel inserts and mortise and tenon joinery to create this type of garage door. You will notice different horizontal rails and vertical stiles to create the overall design of this option.

Non-Overhead Garage Doors

If you prefer a door that opens out or sideways, these types of garage doors are an option. They do not go overhead, so there can be some additional flexibility in the overall style.

The side rolling type opens to one side. This leaves most of the opening free from obstructions, but it takes up a bit more wall space compared to other styles. While they share a lot of similarities with bifold styles, you can automate them more easily.

Barn-style doors either use a slider style or a swing style. There are usually few to no windows and no horizontal rail, and the top section is solid. You can have some windows in this style if you want, but they have to be at the top section and usually have to be rather small.

The true bifold style folds off to either side of the opening after parting in the center. This type is a good choice if you are replacing a wall with a garage door or your existing door is particularly large. You can also customize this door type with decorative hardware and windows.

The gliding and sliding type of garage door works like a traditional barn door. The doors slide to the side on a track. Compared to the opening, the doors will be larger to ensure complete coverage of the opening. The track is twice the door width to ensure they can open fully.

The true swing type use heavy-duty hinges to swing open and then close. There will be one door on either side of the garage opening. You open them outward, so you have to ensure adequate space in the driveway to do this.

Consider the Style of Your Home

The style of your home plays a major role in the garage door style that will look and function the best. Learning more about the most common home styles and which garage doors are the best fit help to narrow down your options.

If you have a colonial home, you might consider wooden garage doors since they fit the classic style. Look at the doors that swing and have two tones for a sophisticated look.

Cape Cod homes tend to work best with composite or wood carriage-style options. Look at garage doors with raised rectangular panels that are symmetrical.

Barn-style doors can work well with a craftsman-style home. You should look for styles that can accommodate windows and recessed panels. You can also get away with garage doors made from glass if your home’s style is modern.

A contemporary home combines well with more minimalist garage door styles. Consider designs that have neutral colors, sleek lines and windows that are a bit off center and vertical. You might also think about glass doors or wooden doors that do not have trim boards.

The mid-century modern home looks good with a garage door that has sleek lines utilizing negative and positive space. Use only a few decorative elements and consider prairie-style windows with no trim on the door panels.

A farmhouse home can benefit from the rustic appearance of barn-style doors. Divided window grilles and buck overlays are also good style elements for this type of home.

A ranch home benefits from a garage door that is elegant and classic. Consider dark finishes and a door with a streamlined design to complement the home.

No trim and vertical panels work well with a Tudor-style home. You can also take advantage of composite and real wood with decorative hardware and small windows.

If your home has a Spanish style, you should look at recessed panels and dark woods. Consider designs that have clean lines and decorative iron elements.

A Victorian home looks good with a real wood door to play to the historical accuracy. You can also get creative with decorative hardware and windows.

Maintaining Your Garage Door

The general recommendation is to have a professional come and perform an inspection on your garage door about once a year. They will examine the door itself and any related components, such as a motor for a power door. If they notice a problem, they can make any repair or replacement recommendations so that you can keep your door operating smoothly.

Whether your garage door is brand new or not, you want to ensure regular maintenance to keep it looking great and working right. There are several tasks that a professional can tackle during a maintenance session. It is important to have a professional do this to ensure proper completion of the maintenance.

There are multiple things they will do to keep your garage door in good condition:

  • Tighten the hardware
  • Test the door balance
  • Clear the tracks
  • Replace the weatherstripping
  • Lubricate the moving components
  • Test the auto reverse
  • Clean around the door

Professionals usually suggest that you should only use your garage door when necessary. The more you open and close it, the more wear and tear you are putting on the different components.

In Indianapolis, it is important to keep your garage door in good working order. We can help you keep it looking good, as well as functioning properly. Our company focuses on garage doors, so you can rest assured that we keep our focus on this industry. We are family-owned, so we offer the family experience to all of our customers. Whether you need a quick repair or you are ready for a completely new design, we can help.

Contact Garage Door Doctor today to schedule your next inspection and maintenance service.

How Long Does Garage Door Installation Take?

Scheduling garage door installation in Indianapolis, IN takes just minutes, but you may be wondering how long these projects take to complete. After all, for many homeowners, the garage serves as the preferred home entrance. If you park indoors and drive to the majority of your destinations, you might rarely use the building’s front door at all. Fortunately, you won’t have to wait days to see the results you want. Read on to learn which factors will determine the length of this project from start to finish.

Garage Door Installations in Brand-New Construction

If you’re having your home custom built and are eager to have your new garage door put in, you can look forward to a project that takes just two to three hours. In most instances, these jobs are straightforward and easy. There’s no old door to remove, no signs of stress-related wear on the surrounding building materials, and few items in the garage to work around, if any at all.

Unfortunately, most garage door installations aren’t this simple. When there are existing doors to remove, stored items in the space, and framing problems, installers usually need several more hours to get everything done.

Replacing a Simple Garage Door With the Exact Same Model

You might have a garage door that you really like, but it’s nearing or at the end of its expected lifespan. Replacing this unit with an identical model could shorten the duration of your project by eliminating the need to make refinements to the tracks or surrounding materials. This might be the best choice for your home if you want a basic and economical door design or if the door that you already have has all of the features you want. Identical door installations can take between two and four hours. However, it’s important to note that it might be better to explore your options in doors at the same price point or a similar price point before committing to the exact same door design.

Most garage doors last between 15 and 30 years. If it’s been nearly three decades since your current garage door was installed, you might be surprised by the wealth of innovations that have been made in these products. There are garage doors with side-mount systems, significantly higher levels of insulation, higher-than-average fire ratings, and more. Whether you want to reduce your carbon footprint by tightening your home’s envelope, increase the curbside and overall aesthetic appeal of your property, or limit your risk of indoor fire damage, there are a lot of worthwhile options to consider.

Upgrading to a More Modern and Feature-Rich Door Design

Upgrading to a more modern and feature-rich door design will likely increase your installation time by about two to three hours. In general, more complex installation projects take about six hours to complete. The mounting pads, surrounding wood, and back jambs will probably need to be modified or replaced in this case. If your old door has caused any structural damage or noticeable wear to these features, replacement is the most likely choice.

When garage doors and their openers come with advanced features, homeowners should be on hand to learn how to use them after they’ve been put in. When we complete these installations, we take the time to give our clients in-depth tutorials of their new equipment. Our technicians don’t leave until homeowners understand how to use their new doors and openers, how to maintain them, and how to identify small or developing issues.

Choosing and Sourcing Your Garage Door

Although even fairly complex installations rarely take more than six hours to complete, you could find yourself waiting weeks for the garage door that you really want. This is especially true if you choose the wrong company to handle your project. At Garage Door Doctor we’ve been installing garage doors for residents of Indianapolis for quite some time. This has allowed us to establish a solid network of reputable door suppliers. As a result, we can source a wide variety of in-demand door designs in a timely fashion and at reasonable prices. Our industry experience and our long-standing supplier relationships additionally allow us to source materials at impressive discounts and then pass the savings on to our clients.

If you want a unique door design or have very specific ideas about the door features you want, you’ll get the best results by working with a licensed garage door company like ours. Hiring a general handyman or attempting to tackle this project on your own can result in extended delays, functional problems just after installation, and the loss of your door manufacturer’s warranty.

What to Expect During the Garage Door Installation Process

For all garage door replacement projects, we start by assessing the condition of the existing door and the surrounding materials. These assessments allow us to determine which options in replacement doors will work best and which structural repairs must be made before any new door is put in. After this inspection is done, you can work with our in-house design consultants to choose an option that offers the level of insulation, fire protection, and convenience you want and need. We’ll explain your choices in door openers, and we’ll help you find one that optimally suits your schedule, budget, and lifestyle.

On the day of installation, we’ll take your current door down and disassemble it. If you’ll be replacing your opener as well, we’ll take this out too. Next, we’ll take out all wood sections that have been improperly installed or that are rotted or damaged in any other way. After all, even a well-made door won’t fit or function as it should if it’s attached to warped, soft, or bowed boards. All back jambs and mounting pads will also be replaced as needed.

To suit the dimensions and design of your new door, we’ll install new tracks on each side of the door frame. These will guide your door into and back out of the open position. Once these tracks are securely in place, we’ll install the actual garage door and opener. To optimize the connection between your garage door opener and your garage door, we can additionally install an operator reinforcement bracket (ORB).

Your new garage door will be wired into your home’s electrical system. This is done by running a wire from the ceiling to a nearby sensor and wall switch. Without this connection, an automate garage door won’t work. Finally, we’ll finish your project by testing your garage door and showing you how to use it.

When you hire us to install your garage door, you can look forward to the timely completion of your project. We’re staffed by a talented team of highly trained professionals who understand the complexities of this work and the nuances of individual garage door models. We use diligent dust control and noise control measures to minimize disruption during the installation process. We also remove all project waste materials when leaving.

We know just how important it is to have a secure and high-performing garage door for your home. Proudly serving residents of Indianapolis, IN and the surrounding areas, we offer an impressive selection of garage door openers and innovative garage door designs. We also provide spring repair services and general garage door repair services. To schedule an appointment, contact us at Garage Door Doctor today.

Everything You Need to Know About Installing Weatherstripping

Whether you’re a first-time home buyer or living on your own as a renter, chances are there are some major and minor projects you’ll need to take care of around the house. While many people know that they have to take care of the gutters, change the air filters, and maintain the appliances, they don’t always know about different tasks like weatherstripping.

Weatherstripping is the process of sealing the exterior crevices of your home. The standard places for people to add weatherstripping include the doors and windows. This isn’t exclusive to the front door or the surrounding windows. The garage door and that half-bathroom window are included, too. Whether you live in a warm climate or a cold climate, it’s an important and effective process to prioritize in your home maintenance plan. Yes, this is a process that you can outsource in order to save time. However, if you understand the logistics of how to do it, this is a project you can do on your own.

Benefits of Weatherstripping

Weatherstripping is effective for a number of reasons. If you live next door to a neighbor who smokes incessantly and you don’t want it to get inside the house, weatherstripping can help to keep the odors at bay.

Weatherstripping is most popularly known for keeping the outside air from coming inside the house. It’s helpful for making sure the indoor air doesn’t escape outside. If you’re paying a utility bill to cover your air conditioning or heating, you don’t want to waste any of that energy by allowing the air to slip outside. Weatherstripping keeps everything where it’s supposed to be. The outdoor air won’t come in, and the indoor air won’t go out.

Another thing that won’t be able to come in is a bug. Whether you’re looking to keep out the ants, roaches, or flies, no one wants to attract those small bugs that can easily seep through cracks and crevices that aren’t sealed. While some people choose to use a caulking method, you can actually use a weather-stripping process to keep bugs, dust, and debris from coming inside of the house.

Lastly, weatherstripping can also serve as a sound barrier. If your neighbors tend to make a lot of noise or if you just hear the natural sounds of the outdoors, weatherstripping can muffle the sounds a bit.

Best Times for Weatherstripping

When you’re preparing to set weatherstripping over the windows and doors of your home, chances are you’ll want to be mindful of the air that’s escaping from these areas. Because of this, there are two times that are most ideal for installing weatherstripping.

For starters, you’ll want to consider the climate you live in. The early spring and late fall tend to be the best times to install weatherstripping. This is because during these two times, the outdoor weather tends to be pretty comfortable. It’s also comfortable enough for you to turn off your HVAC system.

When the system isn’t running, you’ll mitigate the chances of wasting money by allowing air to just flow outside. While this process isn’t one that takes hours, it’s not necessarily going to take you 30 seconds either. When you can take your time and methodically lay down the weatherstripping in a thorough manner without worrying about wasting energy, you’ll get the best results. Consider the times of year when you can comfortably turn off your HVAC system and spend time installing the weatherstripping without wasting money.

Steps for Installation

1. Remove the Old Weatherstripping Seal

If there is weatherstripping installed, this is the opportunity to remove it. Start by using a pair of pliers or even your hands to remove the seal. Begin from the top, and work your way down to the bottom. Do your best to take your time so that no part of the seals gets stuck within the crevices. Taking your time also helps lead to easier cleanup.

2. Clean the Surface Area

Once you’ve removed the weatherstripping seals, take time to actually clean the surface area. Begin by getting a vacuum cleaner that has a hose attachment. Use the attachment to get into the crevices, and thoroughly clean the corners of either the doors or the windows.

Once you’ve vacuumed and removed all of the dust from those areas, use some paper towels or a damp cloth and some rubbing alcohol. Use the alcohol solution (or a cleaning solution of your choosing) to loosen up any extra dirt that might have settled in and proved to be harder to remove with the vacuum. Once those corners are thoroughly cleaned, you can either let them air dry or use a paper towel or hand towel to dry them manually.

3. Measure the Stripping Seal

While this step might seem unnecessary, you actually don’t want to waste time or money. One of the best ways to guarantee an efficient process is by checking your measurements to make sure that you have enough stripping seal for the surface area that you are applying it to.

Use a measuring tape in order to get your specifications right. Particularly for areas like doors and windows, it’s nicer when you can have one clean line instead of a bunch of cuts in between lines. Once you’re clear that you have enough and that it fits perfectly for the area that you’re adding it to, go ahead and prepare to actually apply it to the area.

4. Apply It to the Area

Now that it’s time to actually apply the weatherstripping seal to your doors and windows, be mindful to start from one corner to the next. Take your time as you slowly and gently push the seal into the designated crevice. Even though it might seem appropriate to stuff it completely into the section, leave a little bit of room so that you can make the necessary adjustments. Remember that a portion of the seal needs to protrude in order to actually close the gaps. Once you place the seal on a portion, use your hands to push and secure it in place.

5. Test for Effectiveness

Once you’ve secured the weatherstripping seal, it’s time to test for effectiveness. If you’ve secured the seal to a window, open the window and close it. If it tends to open and close with ease, this is a sign that you don’t need to make any more adjustments. When you are able to do the same with the various doors that you’ve applied the seal to, you don’t need to do anything else with it. If you find that you’re able to put your hand over a crack and still feel air from the outside, this is an indication that you need to readjust the seal. If you’re unable to do it on your own, it’s okay to reach out and invest in professional assistance to help you because weatherstripping will save you time, energy, and money in the long haul.

Reaching Out to Professionals

There can be understandable trepidation about doing this process on a garage door. Garage doors are much heavier, and they can potentially be more dangerous. By reaching out to the garage door professionals at the Garage Door Doctor, you’ll be able to rest easily and know that the outdoor elements won’t invade your garage. Plus, you won’t have to take on such a large project on your own. For more information on how we can serve you, contact us today!

Signs That Your Garage Door Motor Needs Replaced

Your garage door motor is an essential component as it is what drives the carriage and opens or closes the door whenever you press the button on your remote or type your code into the keypad. When working correctly, the motor should turn on immediately when you signal the door to open or close, and the motor should fully open or close the door within a few seconds. As with any other motor, a garage door opener only has a limited lifespan and can experience various issues that prevent it from working properly. This means that there will always eventually be a time when you need to have your garage door motor replaced, and here are some of the signs that can indicate you need a new garage door motor.

Motor Makes Excessive Noise

A garage door motor will always make some noise, but it shouldn’t be excessively loud or make unusual sounds. If your garage door opener is excessively loud, it usually indicates that the motor is beginning to wear out and is struggling to open and close the door. Grinding, scraping and squealing noises coming from the opener are almost always a sign that the motor is failing and needs to be replaced or possibly repaired. If your garage door motor is much louder than normal or makes any unusual sounds, we would recommend having it inspected as soon as possible.

Garage Door Opens and Closes Slowly

As a garage door motor ages, it will often start to have more difficulties pulling the door open and closed. When the motor is in good condition and working properly, your garage door should fully open or close in around 10 to 15 seconds. If you notice that it starts to take more than 20 to 30 seconds for your garage door to open or close, it’s a fairly good indicator that the motor is wearing out and will need to be replaced.

Garage Door Suddenly Won’t Open or Close

Garage door motors typically fail over time, but there are issues that can cause them to suddenly stop working altogether. If your garage door suddenly won’t open or close, you should first go inside and make sure that the trolley carriage is still connected to the motor and that none of the rollers have come off the rails. You’ll also want to inspect the torsion springs and lift cables for any obvious issues and make sure that nothing is blocking the door. If everything looks as it should and the door still won’t open and close, you’ll want to have the motor inspected. This problem could be related to an electrical in the outlet that the opener is plugged into or it could be that the motor has burnt out and needs to be replaced.

Garage Door Stalls When Opening or Closing

A garage door opener that stalls or only opens or closes the door part of the way before stopping is a fairly common issue. This problem most commonly occurs because the tracks are bent or the rollers are broken. If the rollers and tracks are in good shape and look normal, it may be that the motor is defective and needs to be replaced. In either case, this is a problem that you’ll want to have a professional look at immediately as a garage door that gets stuck can be extremely dangerous and could cause serious injury.

Garage Door Opener Isn’t Always Responsive

Again, your garage door motor should always kick on immediately when you push the button on the remote or use the keypad. If you find that you sometimes have to push the button on your remote several times before the motor responds, the first thing you should do is replace the batteries in the remote. If this doesn’t fix the issue or the motor also sometimes doesn’t respond to the keypad, you will want to have your opener inspected. In most cases, this problem indicates that the motor has some electrical issues and may need to be either repaired or replaced.

Garage Door Opens and Closes on Its Own

A garage door that randomly opens or closes on its own is obviously a serious issue since it could allow anyone to get inside if the door opened while you were away or at night when you’re asleep. The buttons on the keypad or a remote can sometimes get stuck and cause the motor to open or close on its own. However, this problem more commonly indicates that there is an issue with the motor’s circuit board, such as a short circuit. A short circuit can signal the motor to run and cause the door to open or close on its own. If you do ever find that your garage door opens and closes on its own, you should have the motor replaced immediately both for the safety of your family and your home security.

Garage Door Reverses and Reopens After Closing

Another common issue is when a garage door closes and then the motor immediately reverses and reopens the door. This problem most commonly occurs due to some issue with the safety sensors, which work to prevent the door from closing if there is anything in its path. The first thing to do if you ever notice this issue is to make sure that the two sensors are aligned, and then clean the lenses on each sensor. You’ll also want to make sure that nothing is blocking the path between the sensors.

The safety sensors work by sending a beam of light back and forth. If the sensors are misaligned or the lenses are dirty, the beam of light won’t pass between them. This will usually result in the door never fully closing or reopening as soon as it’s closed.

If the sensors are clean and properly aligned and the problem persists, it usually indicates that the motor has electrical issues or worn-out components. In this case, you’ll need to have the motor inspected and repaired or replaced.

Garage Door Opener Is Old and Outdated

On average, a garage door motor will be able to complete around 10,000 open and close cycles before wearing out. This means that the motor will typically last for around 10 to 15 years at the very most depending on how many times you open and close your garage door every day. If your motor is 10 or more years old, we would definitely recommend replacing it as soon as possible even if it is still working correctly.

Older garage door openers aren’t all that secure as many units are programmed with the same access code and this code never changes. This means that thieves can potentially open your garage by using a remote from a different door that has the same model of opener. Newer garage door openers use a rolling access code that changes every time, and this type of opener will only ever work with your remote. By replacing your outdated garage door opener, you can both ensure your garage door works correctly and make your home much more secure.

If you need to have your garage door motor replaced or your garage door needs any repairs, you can trust Garage Door Doctor for help. We specialize in garage door installation and repairs, and we work on both residential and commercial garage doors for customers throughout the Bloomington and Indianapolis areas. For more information or to schedule a garage door inspection, contact us today.

Considering a Traditional or Non-Traditional Garage Door Style

A garage door not only adds to the overall curb appeal of your home, but it also provides you with a method of securing it. Your garage door must be attractive and match the exterior style of your home to protect the integrity and value of your property. There are unique styles of garage doors available if you need a replacement. The style you choose will depend on what the exterior of your home looks like, in addition to the specific features you are interested in (windows, handles, or a particular color). Let’s look at some traditional garage door styles and non-traditional options.

Traditional Style Garage Door Style

A more traditional garage door style will usually be made from a material such as wood or steel. Raised panels are commonly used, adding a bit of tone and definition. They are often square or rectangular, positioned specifically to create an even pattern across the door. A traditional door is ideal if you want a clean and simple look. You can also choose different details to add customization, such as color, material type, panel design, and hardware.

Modern Garage Doors

A modern garage door style is often used in a home with a very sophisticated and contemporary look. There is a large emphasis on details like clean lines, and the color may be dark or metallic. The material of a modern garage door may be wood, glass, aluminum, or steel. A modern garage door is easy to spot, as it looks very artistic.

Traditional: Carriage House Garage Door

A carriage house garage door looks like it can open and close by swinging in and out of its garage door opening. It opens up and closes down like other garage doors though. You get the traditional look of this style while having a more modern function. Its design is from a conventional carriage-style home, created with a large garage that would open and close widely enough to allow a horse-drawn carriage to emerge.

Many carriage house garage doors allow you to customize the look with things like windows and hardware. However, you can also choose an amazingly simple garage door that is void of anything but some simple beadboard panels.

Modern: Sectional Garage Doors

Sectional garage doors are common in more modern home designs. They have clean lines and are usually free of additional details or features. Made from aluminum, steel, or wood, sectional garage doors are typically made from four or five horizontal panels that have been joined together with hinges. As the garage door opens and closes, those panels will bend. The benefit of this garage door style is that you don’t need much space in front of the garage door. The folding action keeps everything very compact and close to home. If you’re prone to parking your vehicles in the driveway right up against the garage door’s exterior, this is a style you want to consider using.

Modern: Slide-to-Side Garage Door

The slide-to-side garage door isn’t something you see often, and it’s a more modern concept. It works similarly to how a sectional garage door functions, but it rolls to the side instead of up and down. A lot of people like this option because it’s safe. You don’t have to worry about the garage door coming off the tracks or hitting anything on its way down. In addition, new slide-to-side garage doors have an app that allows you to control them using your smart device.

The only downfall of this garage door style is that you’ll need to keep one side of your garage clear so that the door can move freely in open and closed positions. Also, if you use your garage for storage or don’t have a lot of square footage to work with, you might not like this concept.

Traditional: Side-Hinged Garage Door

This is a very commonly used garage door that has traditionally been used for single-car garages. Split in the middle, the door will open and close by way of hinges attached to the sides of your garage door opening. If your traditional side-hinged garage door were installed many years ago, you would have to open the door manually. Newer models can be equipped with an opener and remote.

Popular in mid-century homes, there are different details that you’ll find on a side-hinged door. For example, some doors have a simple lever handle that looks like something you would find on a regular commercial door. A lock is also a common feature. The building material for these doors is usually metal, and the construction is sturdy overall.

Traditional: Tilting Garage Doors

A tilt-up garage door is a one-piece door that opens and closes by way of pivoting arms at each side of the door. It’s a more traditional door style but can look more modern using various materials, colors, and types. Unfortunately, for several reasons, a tilting garage door isn’t a preferred option anymore. First, when you open and close it, it takes up a lot of space in front of your garage. Part of the door will hide away in the ceiling of your garage, but a substantial portion sticks out of the garage. You will have to leave quite a bit of space in your driveway in front of your vehicles, which might not be possible if you have a short driveway.

Tilting garage doors can be unsafe if they’re not installed properly or are getting older. Because it’s a one-piece design, it’s very heavy. If any of the hardware comes loose or breaks, opening or closing the door could cause the whole door to come down.

Traditional and Commercial: Roll-Up Garage Doors

You won’t typically see a roll-up garage door in a home, but it’s a common fixture in a commercial building. It’s a simple concept: rolling upwards into a large coil at the top and interior sides of the garage. These doors are made of metal and usually don’t have a lot of frills. However, they’re affordable and lightweight, making them ideal for businesses of all types. The only downside is that roll-up garage doors usually make quite a bit of noise when in motion.

Customizing a Garage Door

If you have a uniquely sized garage or a specific style of home that you want to match with your new door, you can work with a garage door company to create a customized garage door. In addition to achieving a specific look, you can have your customized door open and close however you would like, with various features and hardware included.

If you want to learn more about the different modern and traditional garage door styles available, contact Garage Door Doctor. In addition to new garage door installations, we offer emergency repair services, routine maintenance, spring repair, and garage door opener installation. If you live in Bloomington or the surrounding areas, contact us today to schedule an appointment.

How Often Should You Lubricate a Garage Door Chain?

Each time that you come and go from your home, you press your garage door button to move your door. Homeowners rely on their garage door opener to function each and every time they need access. However, issues can arise with this area of your home. In order to experience a quiet and smooth transition from open to closed, your garage door chain should be lubricated regularly. This is something that a garage door professional can take care of for you as part of a routine maintenance appointment. You can also take care of this maintenance yourself. Let’s talk more about the lubrication of your garage door chain and how often this process should be done.

The Benefits of Regular Garage Door Chain Lubrication

In order to fully understand why it’s important to regularly lubricate your garage door chain, let’s take a look at some of the benefits of this process.

Smooth Transition From Open to Closed

A garage door chain that is in need of lubrication can be very loud. It can also experience some resistance, making the transition from open to closed rattle. Instead of tolerating your garage door shaking and rattling while it’s in the process of moving, you can lubricate the chain to maintain a smooth movement.

Preventing a Malfunction of Your Garage Door Chain

Have you ever pressed the button for your garage door to open or close, and nothing happened? There are a few reasons why this can occur, including a broken or jammed chain. When the chain mechanism is very dry and in need of lubrication, it’s more likely to snap. You’ll need to call in a professional to replace the chain, which is far more time-consuming and expensive than a quick lubrication.

Garage Door Chain Lubrication Frequency

You should routinely lubricate your garage door chain at least twice per year. Depending on how often you open and close your garage door, the frequency may increase. The area where you live can also impact this maintenance schedule. For example, living near the beach or in another harsh environment can put a lot of wear and tear on the chain. This is because of exposure to different kinds of materials like sand, high levels of humidity, etc. Some homeowners will lubricate their garage door chain every couple of months. Ideally, you want to keep up with this maintenance rather than just waiting for your garage door to sound noisy or rattle.

Try to avoid using a product that is overly greasy or oily when lubricating your garage door chain. This type of product will end up attracting a lot of dust and particulates to the chain. If those particles accumulate in all of the cracks and crevices of the chain, it can become more prone to breaking. If you apply too much product, you can wipe the excess away. Avoid spraying lubricant on other areas of your garage door, such as the rollers or the garage door opener.

If you live somewhere that experiences very cold temperatures during certain points of the year, you should choose an all-weather lubricant. Otherwise, certain products will become very thick and gel-like when temperatures outside fall below freezing. Also, avoid anything that can be corrosive to metal.

Steps for Lubricating Your Garage Door Chain

You can ask a garage door professional to lubricate your chain as part of an upcoming maintenance or repair appointment, but this is also something you can easily do on your own. Let’s take a look at the steps you should follow to lubricate your garage door chain.

Make sure that your garage door is completely closed. Unplug the garage door opener from its power outlet. When lubricating the chain, you want to avoid having the door move.

Use an old rag to remove any dirt, residue, or grease from the garage door chain. You can also use a vacuum to remove any debris that has accumulated.

Apply a product designed specifically for lubricating a garage door chain. These products are generally silicone-based for longevity and durability. You can also use WD-40 in a pinch. Spray the top, bottom, and sides of your chain. Spray lightly, as you don’t want the product to drip off the chain and all over your garage floor.

Plug your garage door opener back into the power outlet. Open and close your garage door a few times to evenly distribute the lubricant. You may need to repeat the process if you notice the chain is shaky or loud.

Other Related Maintenance

In addition to lubricating your garage door chain, there are some other related maintenance tasks to consider completing at the same time.

Inspect the Rollers

A thorough inspection of your garage door rollers will determine if there’s a repair or replacement that needs to be made. You want to make sure that the roller doesn’t shift or wiggle at all when you touch it. You can lubricate your rollers with lithium- or silicone-based grease for optimal protection.

Inspect the Hinges

Check your garage door hinges to make sure the attached hardware is secure. You also want to inspect for rust or signs of wear and tear. Hinges can be quickly replaced, if need be, which helps secure your garage door and protect its longevity. Hinges can also be lubricated if they are squeaking when in motion.

Tighten Your Garage Door Chain

Your garage door chain can have a little bit of a sag to it, but it shouldn’t come anywhere near your garage door. You also want to prevent the chain from being tightened too much, which increases the chance of the chain snapping.
If you need to tighten the chain, loosen the nut that is closest to the garage door. The chain should drop slightly. Loosening the inner nut at this point will allow you to tighten the chain using the outer nut. Make sure both are secure when you are finished.

Listen for Odd Noises

Aside from visually inspecting your garage door chain and lubricating it, there are some other issues to listen for. The sound of your garage door chain hitting your garage door indicates that the chain needs to be tightened. A vibrating sound may mean that the bolts holding the chain in place are loose or damaged. Many people mistake roller issues for a damaged chain, so look closely at both of these areas if there are odd noises when your door is in motion.

There may be a problem with your garage door that requires the attention of a garage door professional even though you have routinely lubricated your garage door chain. Reach out to Garage Door Doctor if you live in Bloomington or the surrounding areas to schedule an appointment for garage door maintenance or repair. In addition to emergency repairs and services, Garage Door Doctor will address residential and commercial garage door maintenance, spring repair, and total garage door replacement.

What To Do When the Chain on a Garage Door Opener Comes Off

Most automatic garage door openers are chain driven. The chain is connected to two sprockets that work to drive the carriage or trolley so the door opens and closes. One sprocket is located at the motor and the other is at the end of the rail just next to the garage door itself. Garage door chains require a bit of slack in order for the motor to smoothly open and close the door. The issue is that the constant vibration that occurs whenever the motor runs can start to loosen the chain to where it starts to drag on the rail or disconnect entirely.

If the chain ever does come off, the opener won’t work and you’ll need to manually open and close the door. This is one reason why it’s always a good idea to have your garage door professionally maintained every year as the technician will always check and tighten the chain. Fixing a chain that has come loose may seem like a simple job; however, attempting to fix it yourself can be dangerous. One wrong move, and you can cause injury or even death. If the chain on your garage door comes off, a call to a repair technician is warranted. Of course, there is nothing wrong with being curious about how the technician will repair your garage door. Below are the steps the technician will take to reattach your garage door chain.

Disconnecting the Door From the Opener

The first thing the technician will do is disconnect the door from the opener. There will be a cord with a red handle hanging from the carriage, which is the part that moves the door along the trolley or rail.

If the chain comes off when the door is fully open, the technician will not worry much as the door will normally stay up even after he or she disconnects the carriage from the trolley. However, there is always a chance that the door can come slamming down upon disconnecting the chain. Technicians are aware of these risks, and they have the training and the tools to mitigate them.
After disconnecting the carriage, the technician will then need to close the door by hand so he or she can access the chain. To do this, the technician will pull down on the rope that is connected to the door.

Unplugging the Motor

Once the door is disconnected and closed, the technician will climb on a ladder to unplug the motor from the outlet. This is essential as the technician will not want the motor to suddenly come on while working, as it can lead to injury or even death.

Putting the Chain Back on and Then Adjust for Tightness

Depending on how loose the chain is, the technician may simply be able to slip it straight back onto the sprockets. They will make sure that the chain is fully on the sprocket at the motor. Depending on the specific model, the technician may need to use a screwdriver to pry off the cover to access the sprocket.

The technician will then need to take a ladder and climb up to the end of the trolley next to the door. He or she will see a second sprocket at the end of the trolley. If the technician can’t get the chain to easily slide back on the sprocket, he or she will first need to loosen it to secure and retighten it.

The technician will see a bolt that goes through the carriage and attaches to the chain with two nuts threaded on one side of it. The nut that is closest to the opener is the locking nut, and the nut closest to the door is the tension or adjustment nut.

The technician will first need to slightly loosen the locking nut with pliers or a wrench and then loosen the adjustment nut until the chain sags enough that he or she can enable it to slip back onto the sprocket. Once the chain is back in place, the technician will then start to turn the adjustment nut in the opposite direction to tighten the chain. The technician has the experience to know that tightening the chain too much can cause it to break or the opener to not work correctly. He or she will test if the chain is too tight or too loose by pushing down on it with one finger. The chain should only give by about an inch. Any more give and the chain is still too loose, and any less give means it is too tight.

Once the chain is properly tightened, the technician will retighten the locking nut to ensure it stays in place. The technician knows that forgetting this step will cause the chain to quickly come loose and eventually fall off again.

Plugging the Motor in and Testing That Your Door Works Correctly

The last steps are to plug the opener motor back in and then test that everything works as it should. After plugging the opener in, the technician will reconnect the carriage to the trolley. This is done by pulling the red emergency cord back in the direction of the opener until the carriage clicks back in place. When the carriage re-engages, the technician will usually notice that the chain suddenly has a bit more slack. This is normal and the chain will tighten back up as soon as he or she opens the door.

Once everything is reconnected, the technician will test your garage door to ensure that it opens and closes smoothly. If the technician notices the chain slightly dragging on the rail when the door opens and closes, he or she will disconnect the carriage again and tighten the chain a bit more.

If the door opens and closes as it should and the chain doesn’t drag, then the technician’s job is done. If the motor doesn’t work for any reason or the chain immediately falls off again, then the garage door technician will inspect the opener further to determine what is causing this problem.

Depending on the specific cause, you may need to have the chain replaced, or you will potentially need to replace the opener. If the chain constantly falls off, it usually means that the teeth on the sprockets have worn down to the point where they can’t properly grip the chain. As such, you may need to have the sprocket, motor or both replaced.

If you need to have your garage door chain put back on or you need your garage door or opener serviced in any way, the expert team at Garage Door Doctor is always here to help. We specialize in all types of garage door repairs, and we can also help if you need a new door or opener installed. We service both residential and commercial clients, so give us a call today if you need any garage door service in Indianapolis, Carmel or the Bloomington areas.